Installing Proxmox Backup Server (PBS) on an LXC Container provides many benefits.
Firstly, it saves space as an LXC does not need the full resources that a Virtual Machine (VM) does.
Secondly, it makes maintenance easier as you can move the PBS container to another Proxmox Installation if you ever need to shut it down.
Let's get started!
Create a new LXC container
Templates
When creating an LXC container, you will need to use a template.
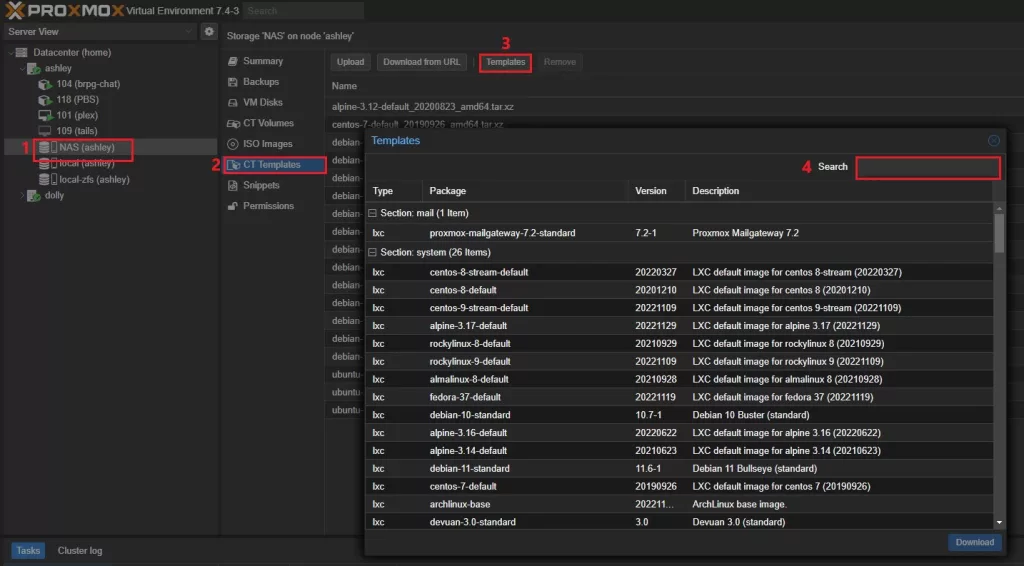
You can download a template by
Clicking on a Storage location
Selecting "CT Templates"
Clicking Templates button
Searching for the desired template
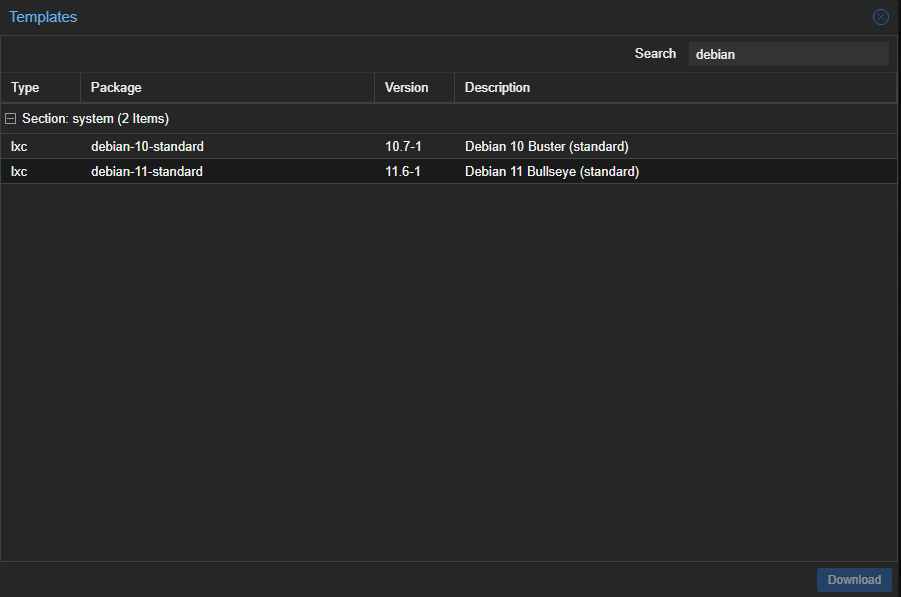
You can use the debian-11-standard template from Proxmox but I prefer using Turnkey templates wherever possible for automatic updates, etc.

Either one will work as they are based on Debian, but for this guide, I will be using turnkey-core.
Create the LXC container using the template
According to the Official Documentation, the minimum requirements are as follows:
Minimum Server Requirements, for Evaluation
These minimum requirements are for evaluation purposes only and should not be used in production.
https://pbs.proxmox.com/docs/installation.html#system-requirements
General Tab
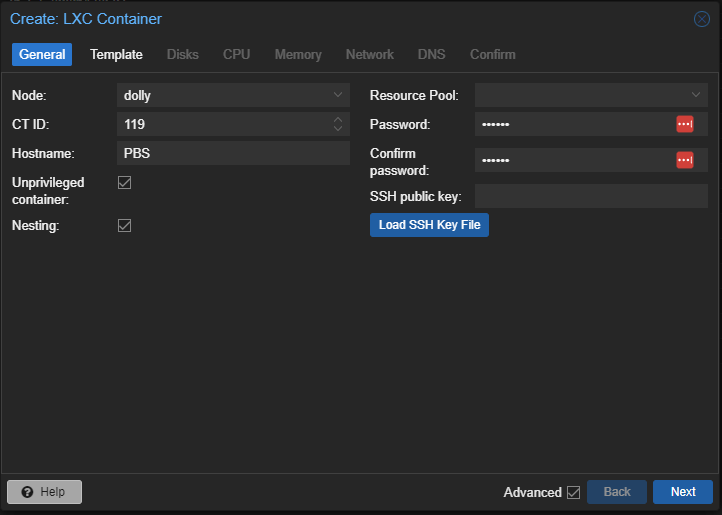
Put in your desired CT ID, Hostname, and Password
Template Tab
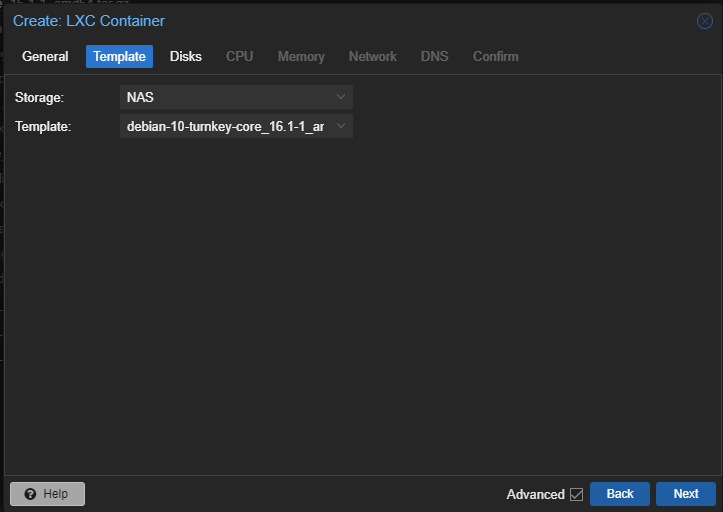
Select the desired template that you downloaded before
Disks Tab
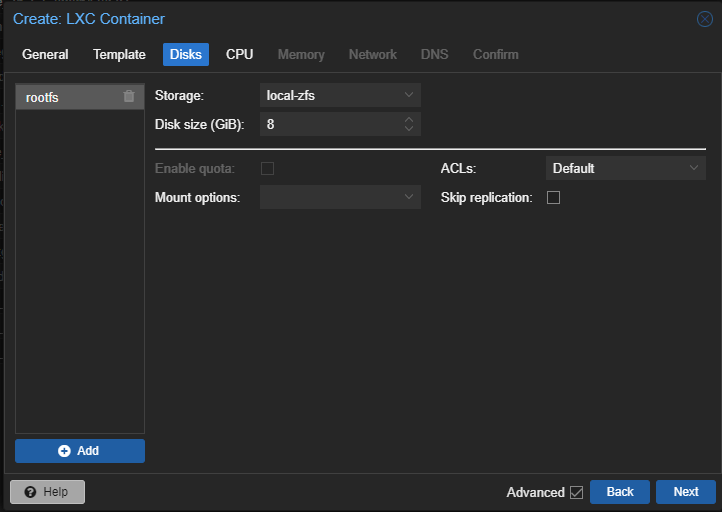
Select the LXC storage location and the disk size you want
CPU Tab
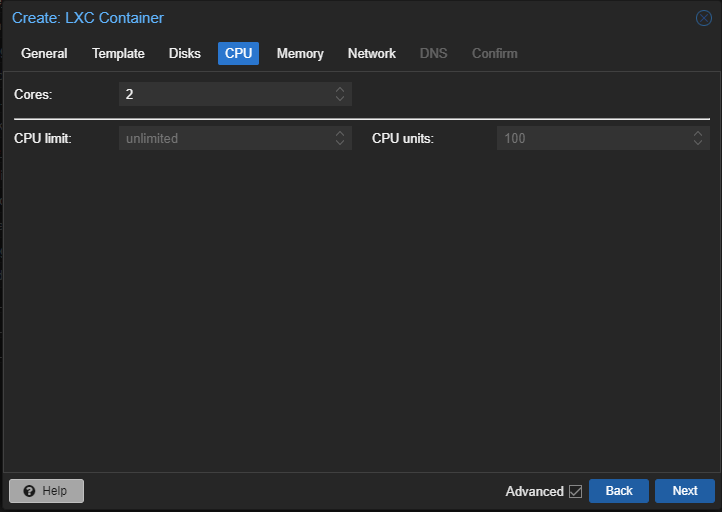
The minimum requirements state 2 Cores, but you can assign as many CPU cores as you wish.
Memory Tab
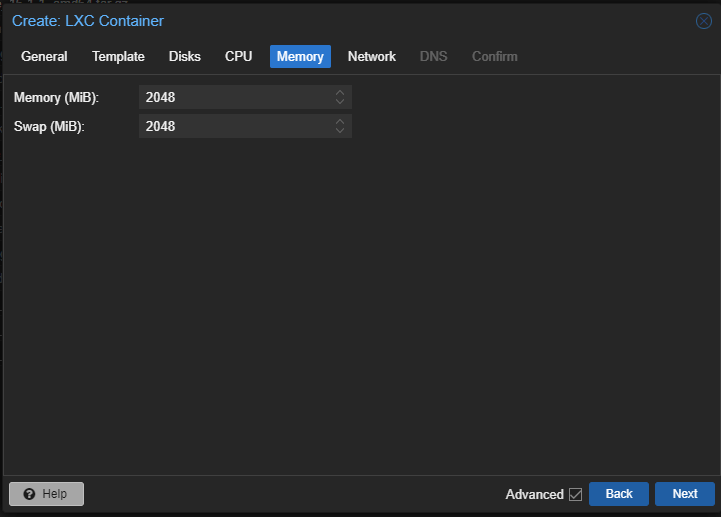
Next, you can assign the amount of RAM you would like this container to have. I am giving it 2 GB RAM as per the minimum requirements.
Network Tab
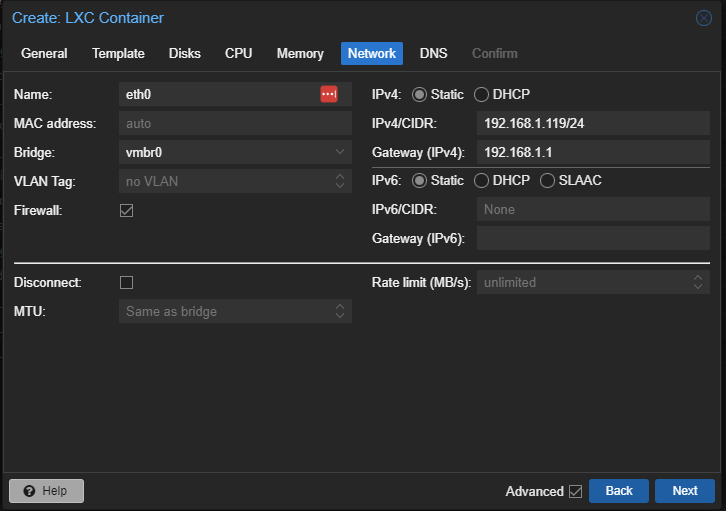
Next, input your Gateway IP and you can assign the container a static IP if you wish. I like to give it the same as the Container ID for ease of reference.
DNS Tab
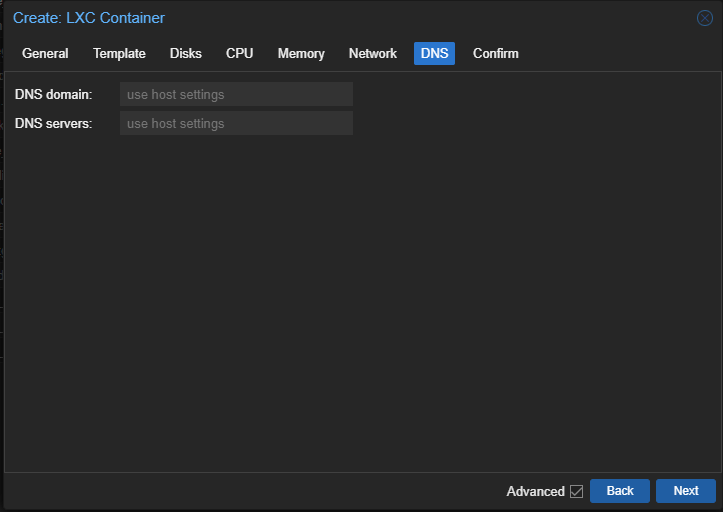
I usually leave these as default but you do you!
Confirm Tab
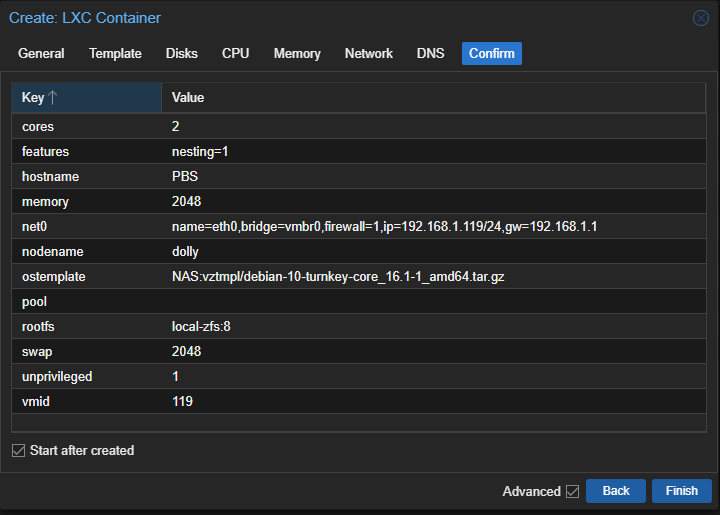
Now that you validated your parameters, you can click Finish and it will create the container!
Container Setup
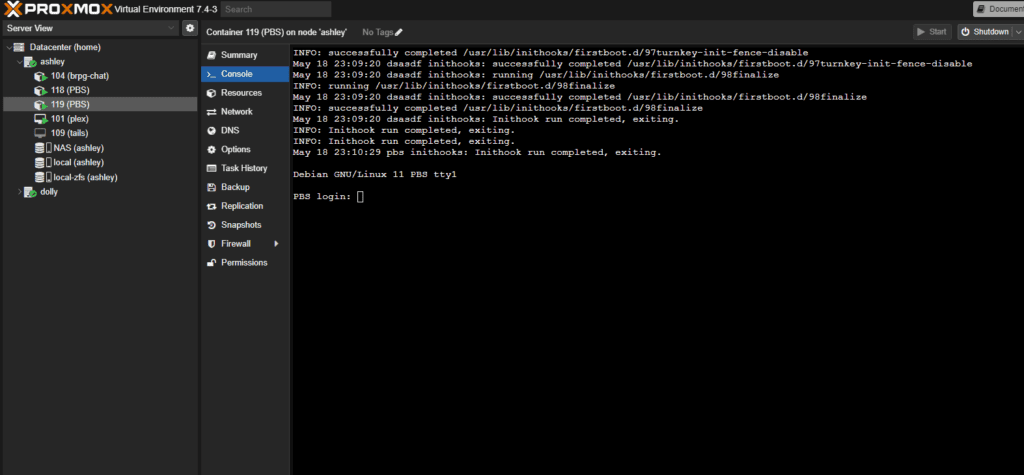
Start your container and log in as root using the password you defined earlier.
TurnKey First boot configuration
If you used the turnkey template, then you should be greeted with this screen. If not then feel free to skip to the next section.
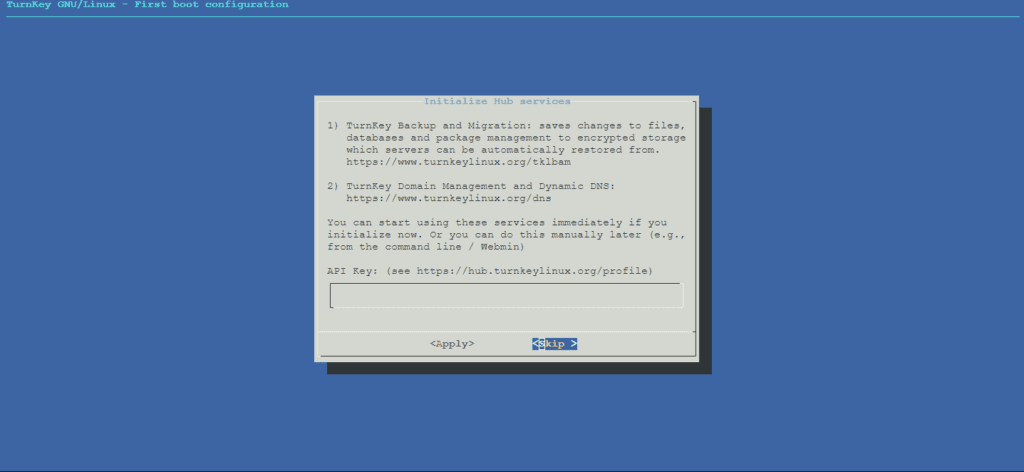
For TurnKey installations, I like to do the Skip, Skip, Install approach. This means we will skip the Initialize Hub services
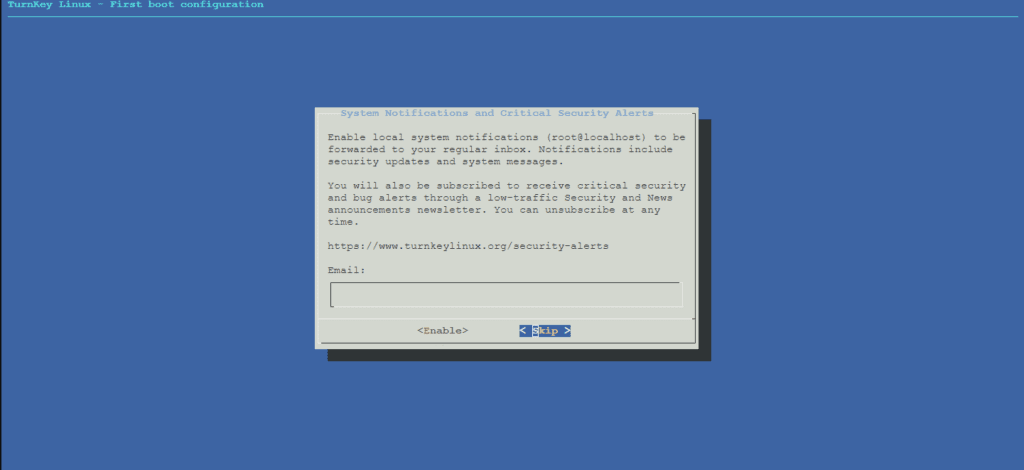
Skip the System Notifications and Critical Security Alerts
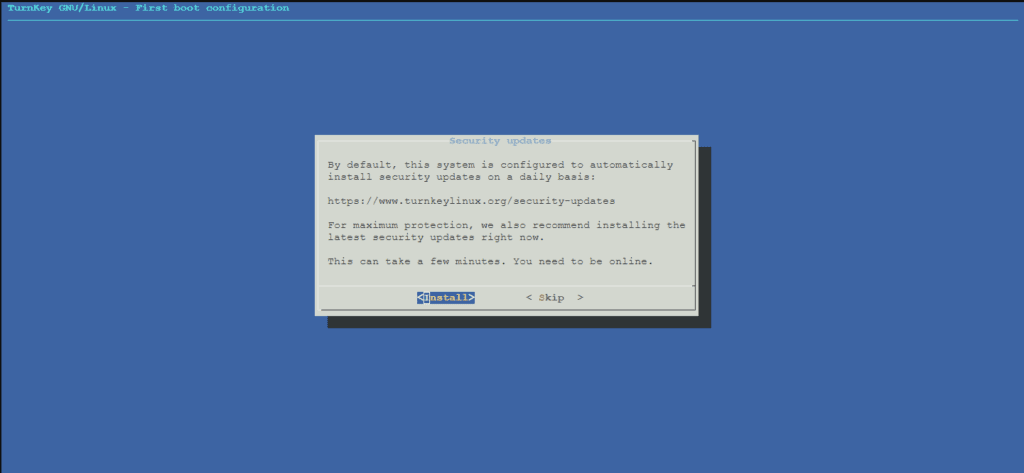
Then install the Security updates. You can do as you wish but I recommend installing the latest security patches before going to the next step.
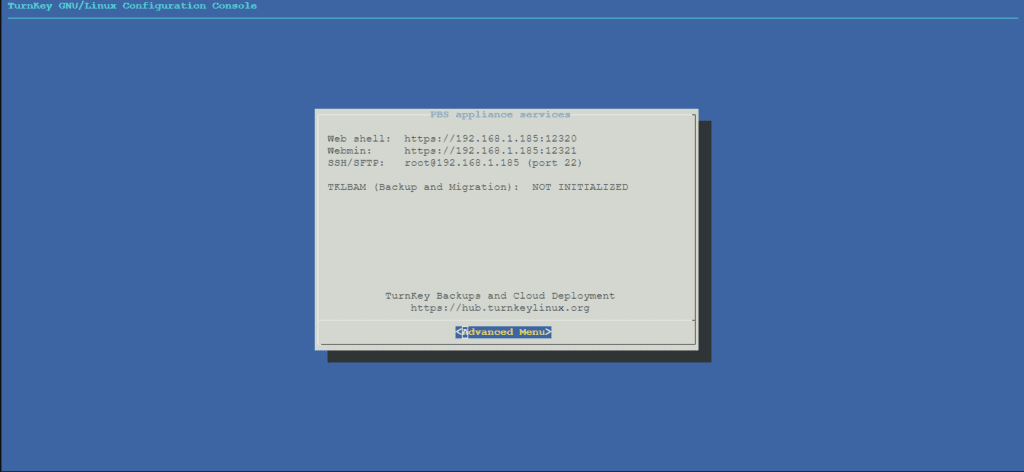
Once completed, you will get this menu, and you can hit ENTER to enter the Advanced Menu
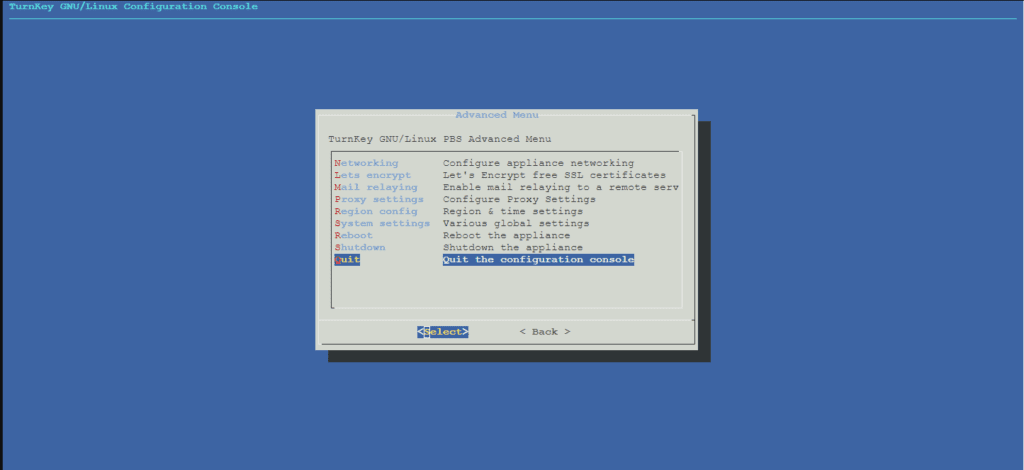
You can now use the arrow keys to go down to Quit and hit enter
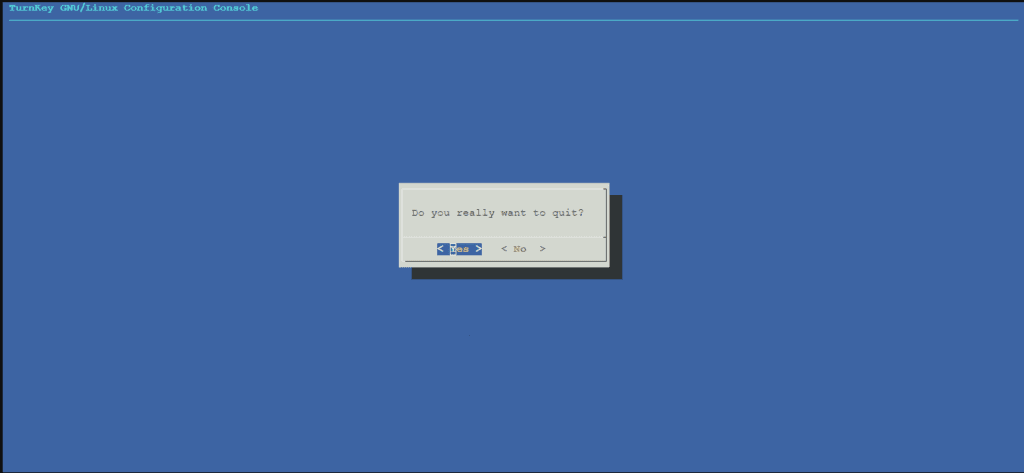
Then hit Enter to quit
Installing PBS
Update Dependencies
Run the following commands to update your packages
apt update
apt upgrade -y
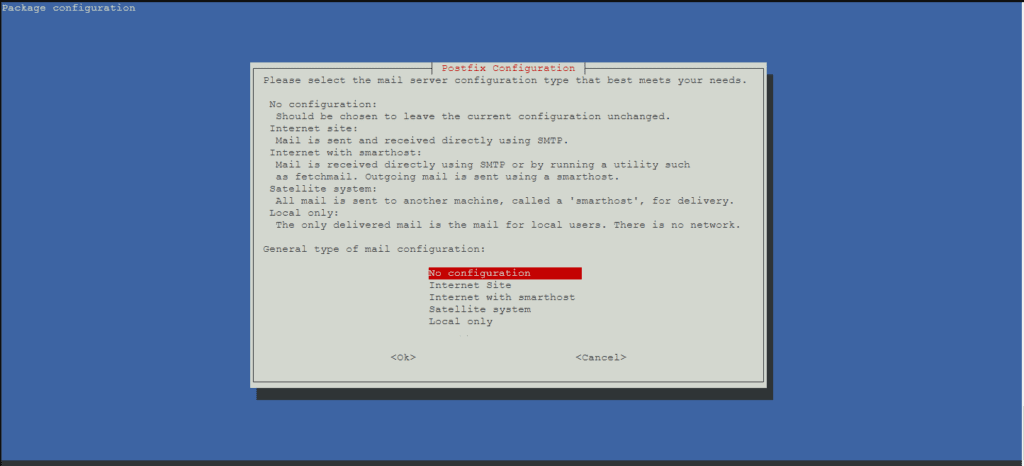
When you see screens like this, I like just to hit ENTER and select the default
You will need to create a new file in /etc/apt/sources.list (ex. vim /etc/apt/sources.list) and paste the following:
deb http://ftp.debian.org/debian bullseye main contrib
deb http://ftp.debian.org/debian bullseye-updates main contrib

# Proxmox Backup Server pbs-no-subscription repository provided by proxmox.com,
# NOT recommended for production use
deb http://download.proxmox.com/debian/pbs bullseye pbs-no-subscription

# security updates
deb http://security.debian.org/debian-security bullseye-security main contrib
Next, you will need to add the official GPG keys by running the following command:
wget https://enterprise.proxmox.com/debian/proxmox-release-bullseye.gpg -O /etc/apt/trusted.gpg.d/proxmox-release-bullseye.gpg
Afterward, you should be able to run the commands
apt update
apt upgrade -y
Installing the PBS package
Run the following command to install the PBS package
apt install proxmox-backup
Installation Complete!
You should now be able to access your Proxmox Backup server at
https://{container ip}:8007
(Note the https)
Troubleshooting
The following signatures couldn't be verified...
If you get these errors when updating or installing the package, then you did not install the correct GPG key. Please follow the instructions above again
Get:10 http://download.proxmox.com/debian/pbs bullseye InRelease [2675 B]
Err:10 http://download.proxmox.com/debian/pbs bullseye InRelease
  The following signatures couldn't be verified because the public key is not available: NO_PUBKEY DD4BA3917E23BF59
Reading package lists... Done
W: GPG error: http://download.proxmox.com/debian/pbs bullseye InRelease: The following signatures couldn't be verified because the public key is not available: NO_PUBKEY DD4BA3917E23BF59
E: The repository 'http://download.proxmox.com/debian/pbs bullseye InRelease' is not signed.
N: Updating from such a repository can't be done securely, and is therefore disabled by default.
N: See apt-secure(8) manpage for repository creation and user configuration details.
Follow this documentation for more information: https://pbs.proxmox.com/docs/installation.html#secureapt
E: Unable to locate package proxmox-backup
Make sure to update your packages:
apt update
apt upgrade -y
Otherwise, you either did not update the /etc/apt/sources.list file correctly or you did not install the GPG key correctly. Please follow the instructions above and try again
Conclusion
Once you have set up your Proxmox Backup Server, you are all set to start backing things up! I'll try to write a more in-depth guide on how to use PBS soon so stay tuned! I hope you enjoyed this guide on how to install Proxmox Backup Server on an LXC Container.
If you liked this guide please give it a share! (It helps a bunch <3)
If you are interested in more content like this, please check out the links below:
Thanks for reading and Happy Hacking!