In this tutorial, we will set up Tails OS in a Proxmox Virtual Machine step by step.
Background
What is Tails OS?
Tails is a portable operating system that protects against surveillance and censorship.
https://tails.boum.org/
Tails is a useful OS that helps you stay anonymous online by encrypting all of your internet traffic through the Tor Network and explicitly denies traffic not using Tor connections. For more information, please see the Official Tails Website.
Why create a Tails VM on Proxmox?
Normally, Tails is installed on a USB flash drive to stay anonymous on the go, however, I am homelabbing and decided to create a VM on Proxmox to test it out just because I can :~) But just because you can, doesn’t mean you should. YMMV
Now let’s get into the tutorial.
Tutorial Time!
Step 1: Download the Tails ISO

To retrieve the Tails software, we can go to the Tails Official Downloads and under “Other options” click on “Run Tails in a virtual machine”.
NOTE: If you use the regular .img file, you will have issues starting the VM
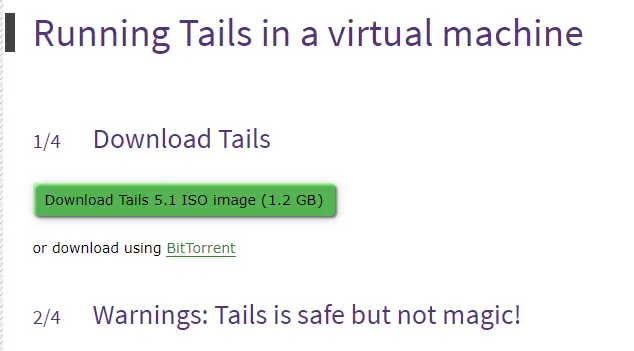
Next, we can click on the Download option. You can download it via Torrent as well, but I’m downloading it directly.
Note: Make sure to follow the steps on this page to verify a correct installation.
Step 2: Upload the Tails ISO to Proxmox
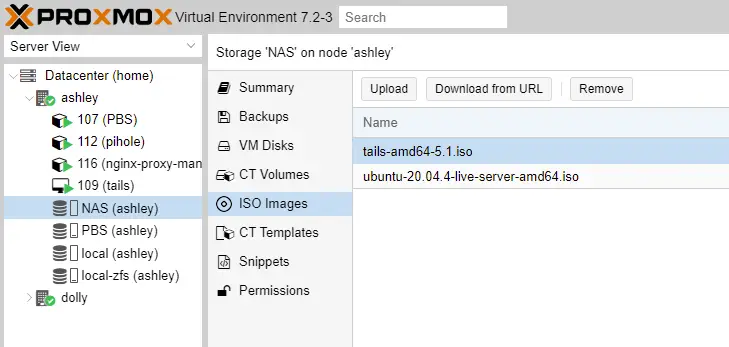
After that, log in to your Proxmox installation and click on the Storage you want to save the image to. In my case, I am uploading the image to my NAS. Click on ISO Images and upload the saved Tails image from the first step.
Step 3: Create the Tails VM
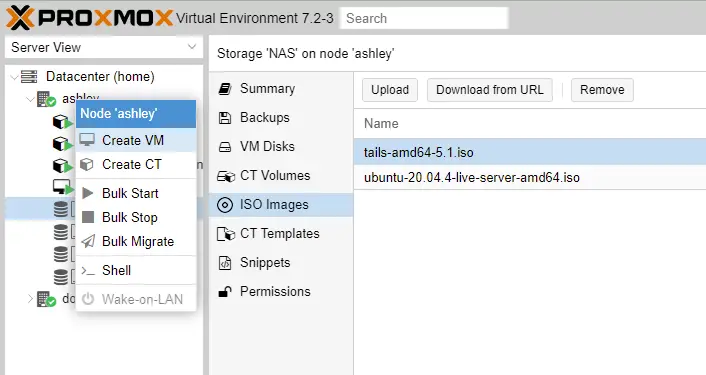
Right-click on your Proxmox node (In my case ashley) and select “Create VM”.
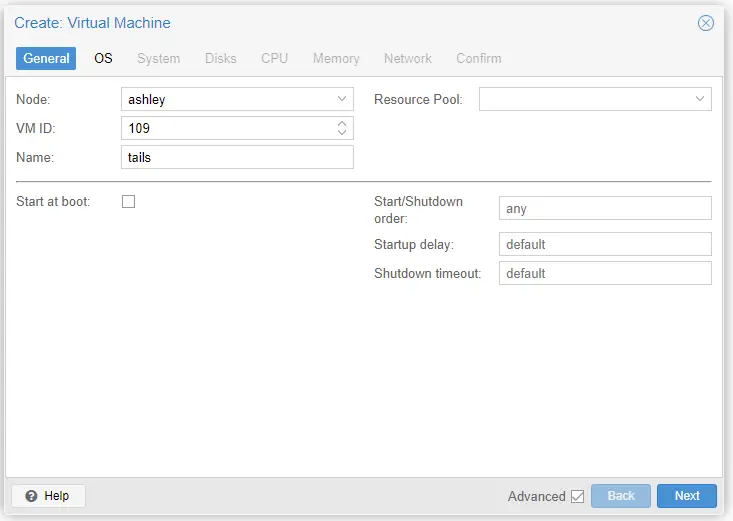
Now, the VM ID will automatically be set to the lowest available ID but you can also specify this if you so choose.
You will also want to name your VM then click “Next”. I will name mine “tails”.
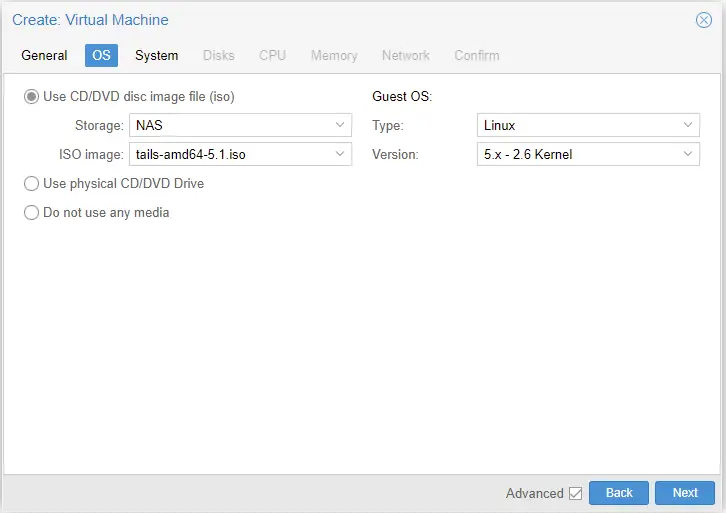
Now on the OS tab, we want to select the Storage that the Tails image is on (in my case NAS) and select the Tails ISO and click next.
NOTE: Make sure it is a .iso file and not a .img file or the VM will not start! To get the .iso file, see Step 1.
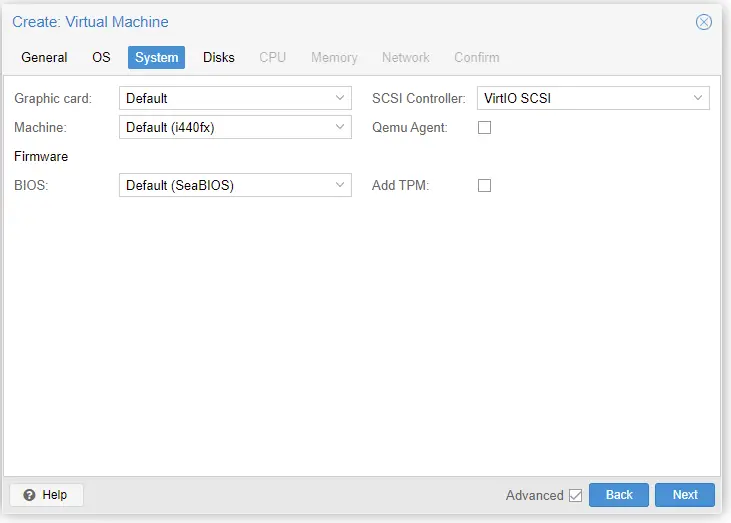
We can leave the settings in the “System” tab default and click Next
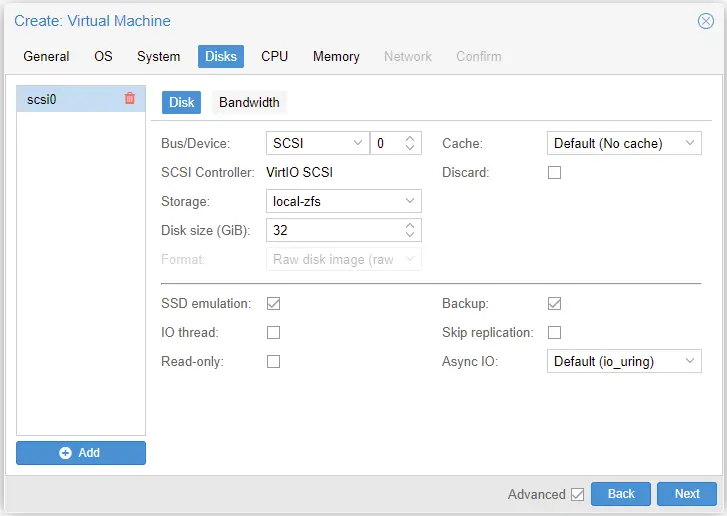
Next, we want to specify which Storage our VM will run on. I set this as local-zfs, but you may choose whichever Storage you want. (if you are using LVM, you can set it as local-lvm). Tails has a Disk size requirement of 8 GB minimum, but I will give my VM 32 GB. I also set SSD emulation on because my zfs pool is running on an SSD but you don’t have to.
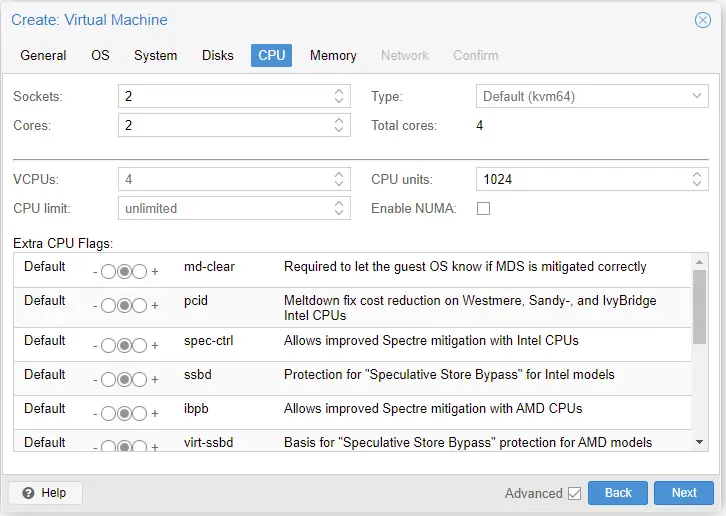
On the CPU tab, assign however many Sockets and Cores you can support. I will give mine 2 of each.

Tails has a 2GB RAM requirement. You can assign more if you want and turn off Ballooning device if you want all ram available to the VM always. I will leave these as defaults for now.
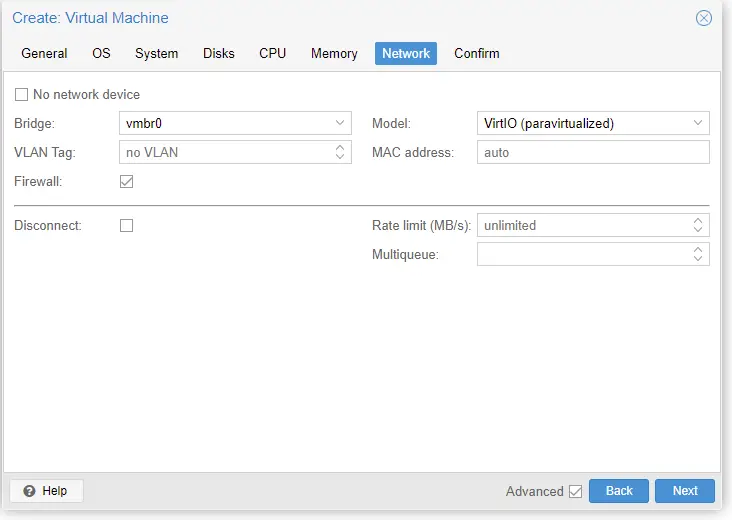
You can set the Network settings here. I will leave mine to default.
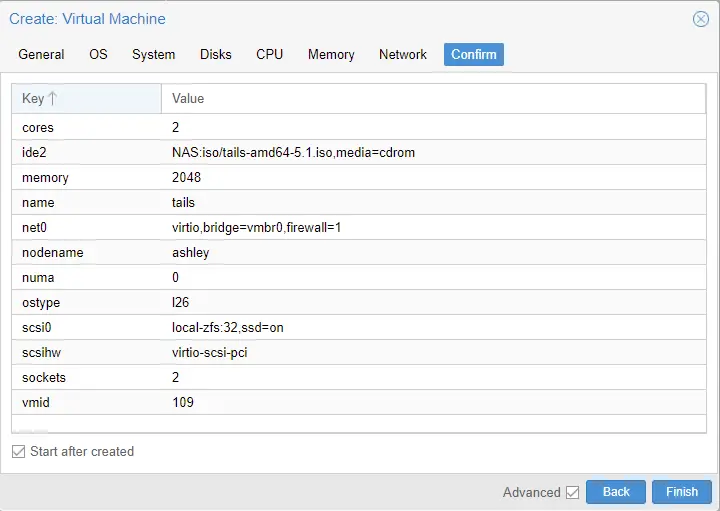
Lastly, make sure all of the settings are to your liking. Then check Start after created and click Finish. This will create the VM and start it immediately.
Step 3: Tails Setup
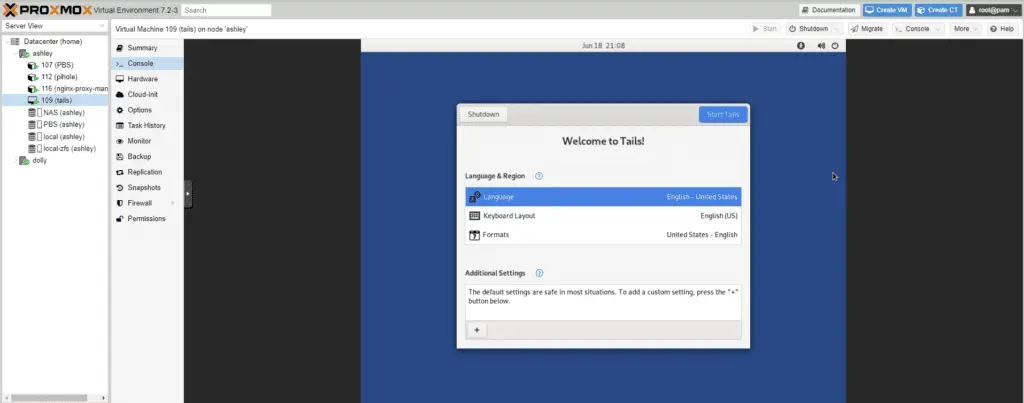
If everything went fine, you should now be greeted with this screen. Now, you can change these settings to what best suits you but I will leave these as default. Click Start to continue.
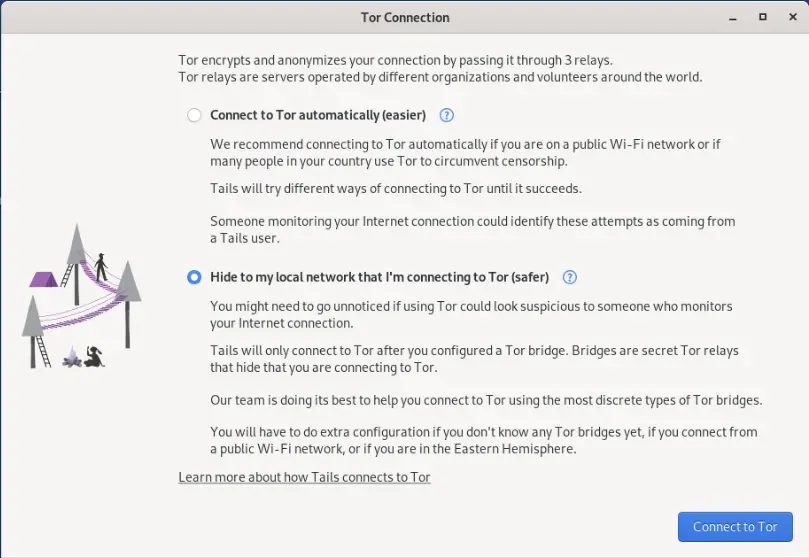
You will now need to select the connection type you want for this install. I will select the first option as it is easier and I am not worried about someone on my network monitoring for Tor activity. I will not configure a Tor bridge as Tails will detect and connect automatically.
You can read more information on this topic here: Tails – Tor network configuration
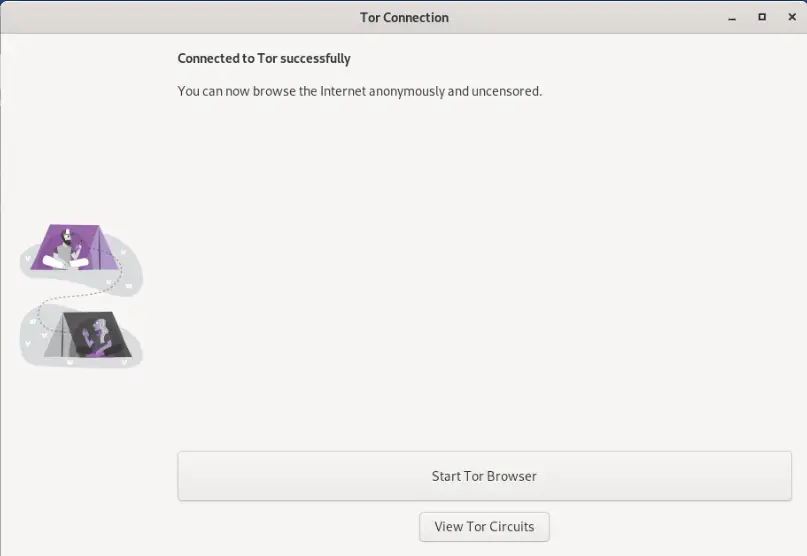
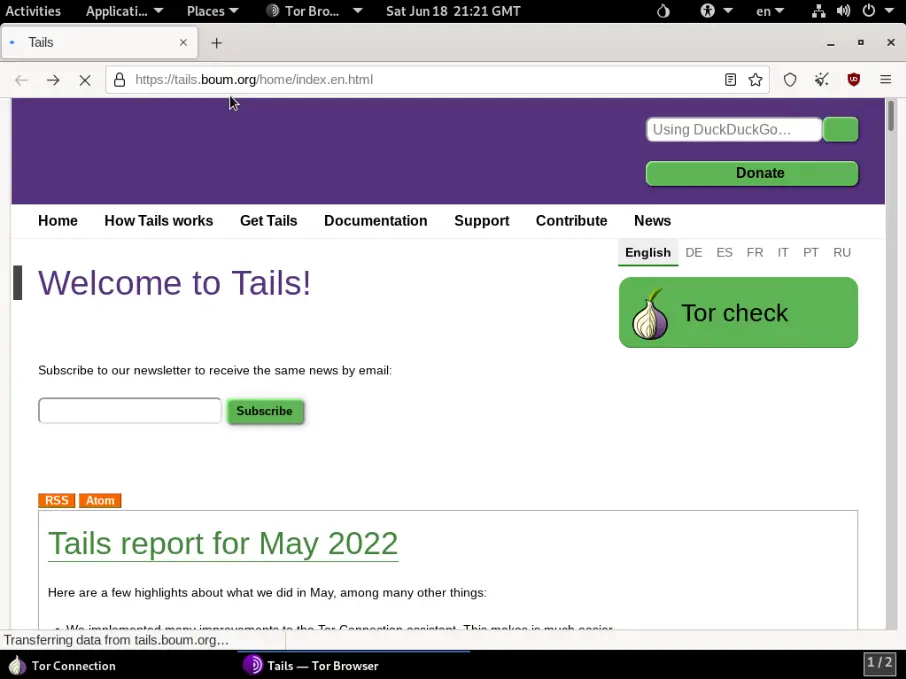
Now, the setup is complete and you can surf the web anonymously!
Conclusion
In conclusion, Tails offers a flexible option to install on a VM as a way to protect your privacy online. After completing this tutorial, you should now have a VM that will reset every time you restart it, which allows for greater protection.
If there was anything I missed or if you run into any other issues, please comment below and I will try to answer your questions. Lastly, if you liked this Tutorial, please share/like it on social media as well as check out some of our other Guides.
Thanks!
Common Errors
Error when starting the VM: “Boot failed: not a bootable disk”/”Boot failed: Could not read from CDROM”
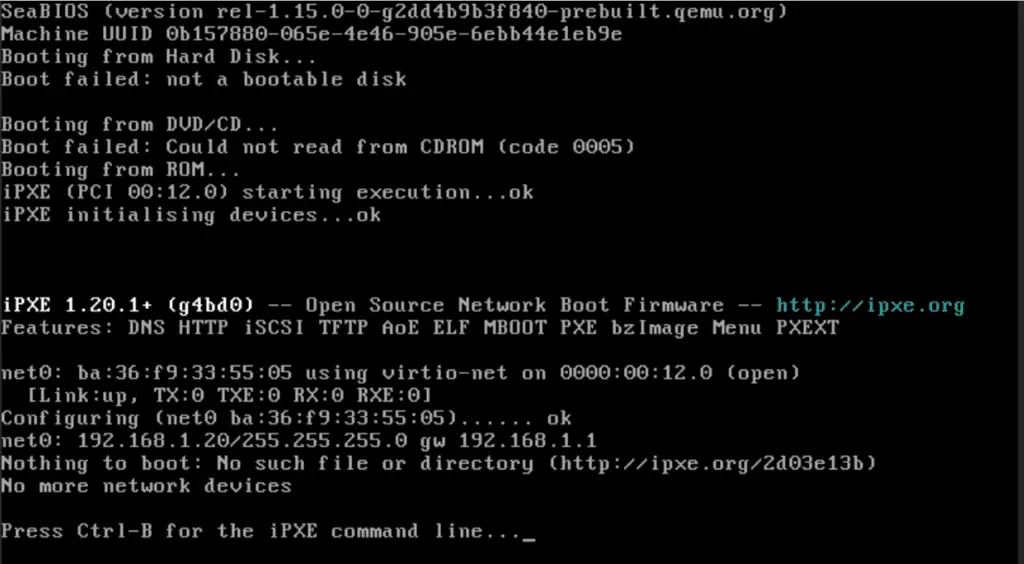
If you receive this error when booting up your virtual machine, it is likely that you used the wrong download for Tails. See Step 1 for the correct download.